Post by jao on Apr 28, 2007 14:50:05 GMT -5
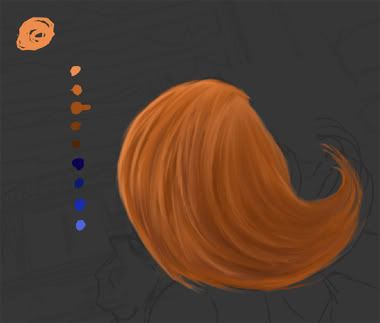
Ok! =D I'm pretty satisfied with the way it moves and the shapes of her hair clumps and stuff. But I'm not happy with the contrast and color balance. Instead of continuing to fight with spunging and painting, I'm gunna use some of hte wonderful tools of Photoshop =D
First is contrast and brightness. Image> Adjust>Birhgtness contrast
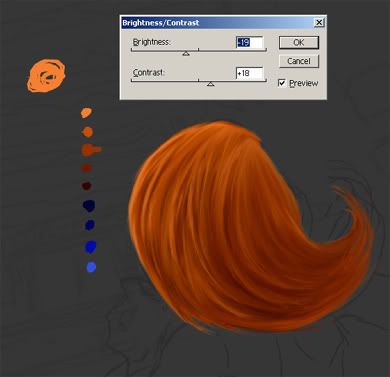
I like to use this one first to try and get what I want. There are curves and levels that you can use to fix contrast and brightness to a very small detail. This is an easier interface to deal with first. I want her lights and darks to pop more and to bring more coloe out. With some little changes I get something I like.
Levels are very handy tho, We'll use it on something else in the picture so you guys can see that. I suggest everyone know how to use levels.
But her hair isn't.. blue enough. first I go to Image>Adjust>Color Balance but it didn't do what I wanted, so instead I went to do my own thing. Now we get to learn more layer tricks =D
Since this is a night picture there needs to be a darkness to it and a somewhat blue tint.
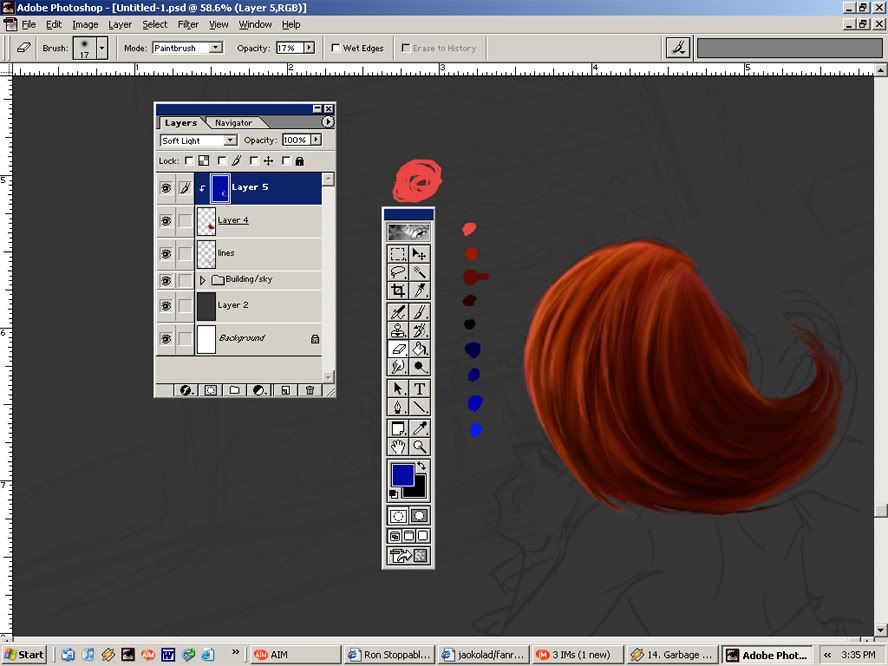
Check out the layer pallete. There's a layer above the hair one with an arrow pointed down to the hair. This is called LAYER GROUPING[/u] and is a really awesome trick.
You do it by selecting hte blue layer and pressing CTRL+G or go Layer>group to previous.
WHAT it does is makes it so that that layer that has the arrow will only appear over the layer it's pointing to. Since I'm trying to change just the hair, it only works over the hair.
Those of you who use PS know that when you use a paintbucket over a layer, it usally fills the entier thing. This way it only affects the hair.
(Layer grouping is so wonderful when you're doing cell shading, or work with airbrush. It manes no messy clean up.)
You can group more than one layer to a single one. For instance, if you wanted to do a comic. You could make the square for a panel and then group the lines for the panel, the colors and text all to the square of that panel.
When you hide (push hte little eyeball thing) of the layer the rest are grouped too it also hides all layers grouped to it.
I make sure that the blue layer is selected and click where it says "normal" in the drop down menue box on the layer pallete. This is called layer styles. I flipped thru till I found one that had something like I liked, but It killed the highlights. With an eraser on a low optamicy, I started erasing over hte highlights and got this =D
This is much like how I want it, but should I need to change it, there's enough tricks that i know that I could do so without worry. So it's on to the next part!
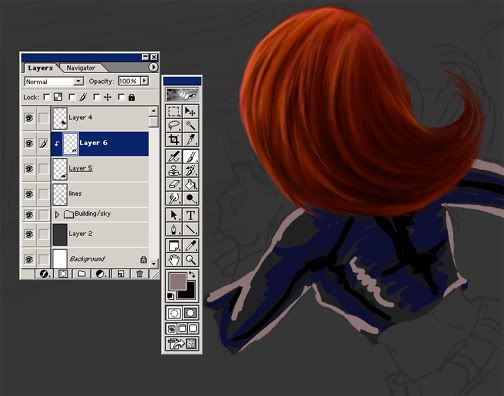
Here we can see some more of that fun layer grouping from before. I slapped on some base color, then on a grouped layer scribbled on the highlights and shades without having to worry about going outside of the base color. When i was happy with it, I merged the layer down (layer>Merge down or Ctrl+E) and started smudging and mixing hte colors like with the hair. The big diffrence is instead of thinking about hte flow of hair, you're thinking about folds, and the shape and muscles of the body underneath.
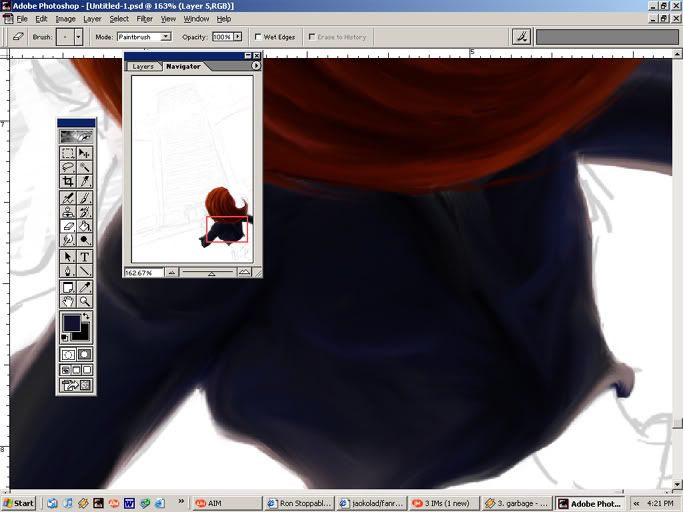
When you're done, go back with an eraser and redefine the edges. Smudge can make edges blurry, so this is an important step. Do it first on your dark background color, and then check on white to make sure you got everything. =D
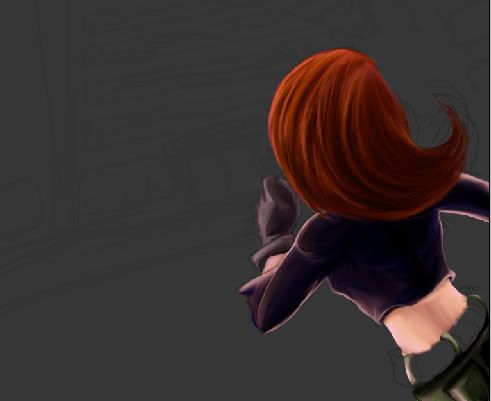
Here it is currently at about the size that I'm going to save the final Jpg. When i come back from a nap, I'm gunna show you guys selective deleting, a trick I learned by experimenting that i've found super handy.
If you have any questions, please please ask!